PROCEDURES
122
Printing a pulley with a 3D printer
If you have a 3D printer, you can design parts for your
project in three dimensions and then print them.
❚❚
First of all, we must consider the object that we are
going to print. What shape will it have? In this case, the
object is a pulley, based on a
cylinder
.
❚❚
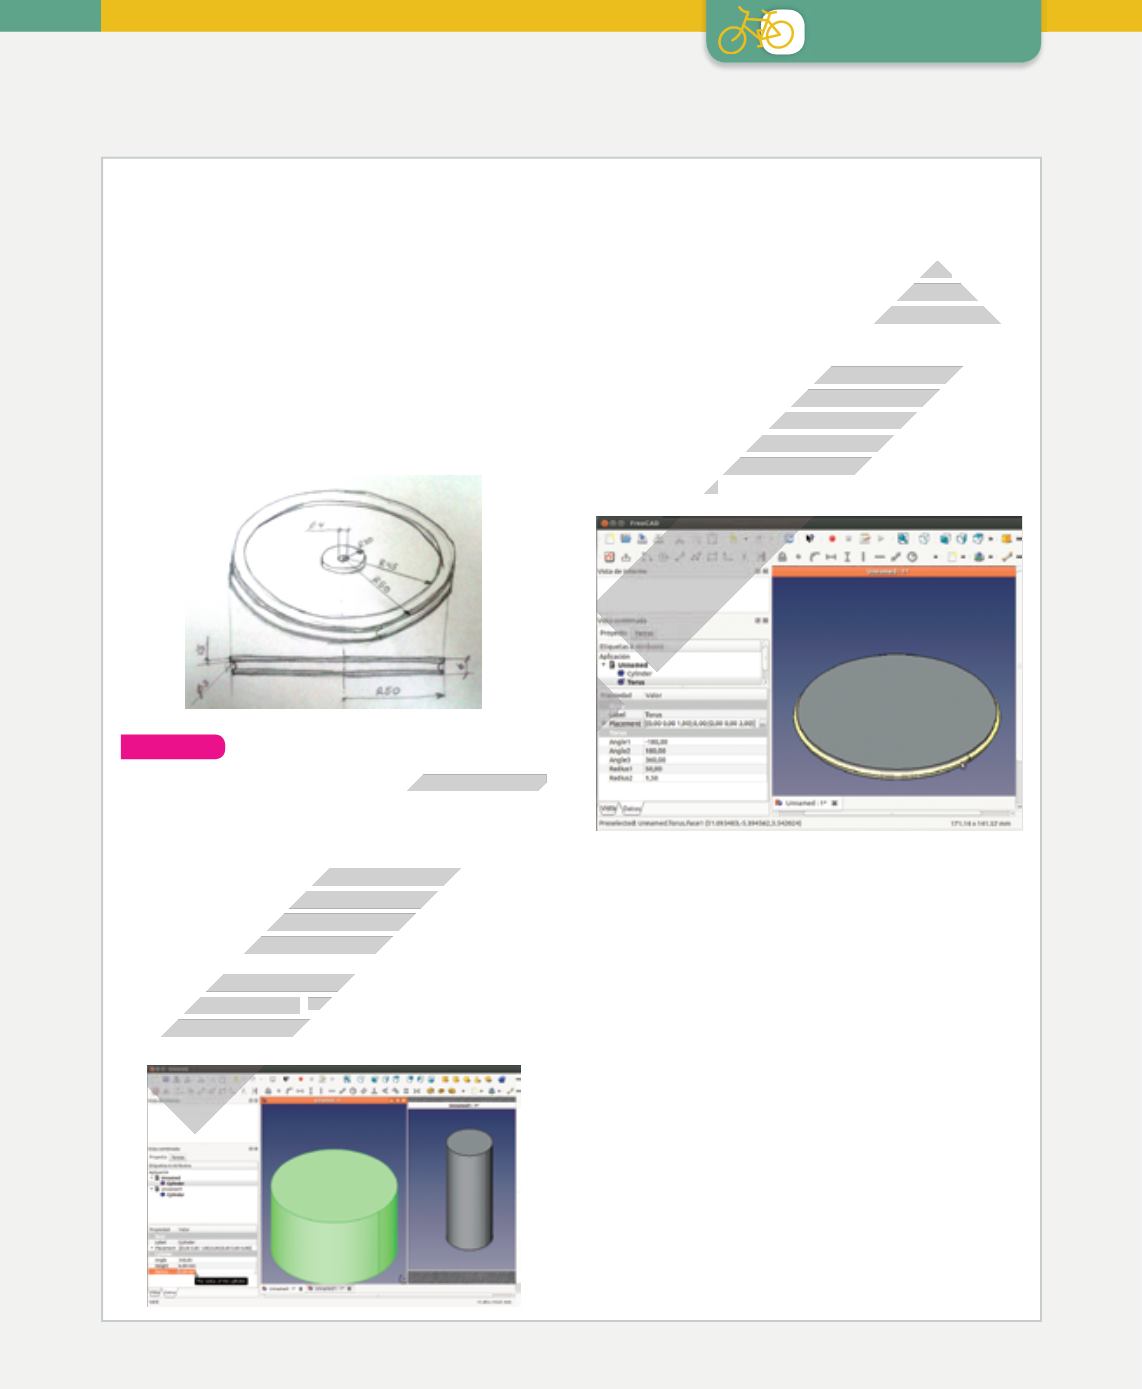
A pulley has a groove around the outside. We can
include this in our 3D design by adding a
torus
(doughnut shape) around the cylinder of the pulley.
❚❚
Finally, we can add or remove cylindrical sections
around the hole in the centre of the pulley, in order to
form the hub.
Analyse
1.
Look at the diagram.What are themeasurements
of the various parts?
Starting to draw
When we open the program, we select full view to see all
of the tools. Tomake the drawing process simpler andmore
intuitive, we can trace the figures with the corresponding
button and then modify the parameters afterwards.
To draw the cylinder of the pulley and modify its
parameters, we click on
Data
→
Value
in the pulldown
menu on the left, as shown in the image.
Since the cylinder is resting on the horizontal plane, we
must raise the torus by 3 mm on the Z axis, until it lines
up with the centre of the cylinder’s height.
The easiest way to move an object is to enter
Data
→
Value
and choose the Placement option (a button with
three dots), where you can change the parameters for
inserting new objects.
Next you must remove the section of the cylinder
that overlaps with the torus around it. Choose the
boolean
option, which opens a menu. Then mark
the objects that are used in the operation and the
action that you want to perform. In this case, it will
be ‘difference’.
The next image is the result of the boolean difference
operationonthecylinderandtorus. Thiscreatesacompound
object which the program names ‘Cut’ by default.
All the names can be changed by selecting them and
then right-clicking on the mouse. In this case, we
rename the object as ‘Base’. Using the same menu,
we can also change the colour of the object and other
viewing options.
Next, we could simply add the hole in the centre of the
pulley and then print the design. However, 3D printing
material is expensive, so we should remove any excess
mass that won’t affect the object’s functionality.
With this program, it is quite easy to create objects
by using basic shapes, to which we can gradually add
complexity. This gives us absolute control over the
resulting object to be printed. In any case, we should
save the various stages of our work so that we can use
them as the basis for other projects in the future.
ADVANCE EDITION


